Add your domain
Add your company domain, add its DNS records, and let ZevInbox verify it.
Updated 2 min read
Adding your domain lets your team answer from your own addresses, like support@yourcompany.com. Owners and admins can do it.
1. Add the domain
Go to Settings › Domains.
Select Add domain.
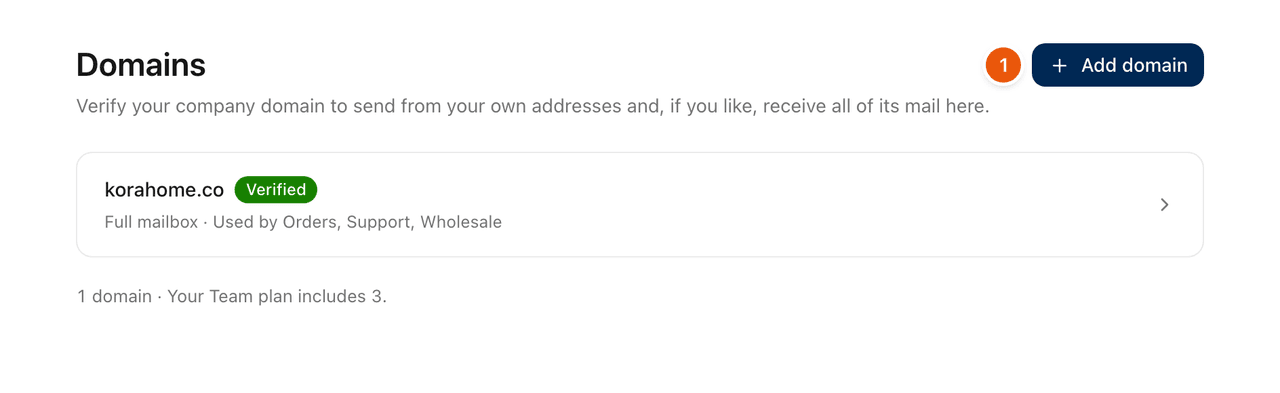
Type your domain, for example
yourcompany.com. Just the domain: if you paste a web address likehttps://www.yourcompany.com, ZevInbox removes the extra parts for you. See Common domain mistakes.Choose Full mailbox or Keep your current provider. See Full mailbox or keep your current provider.
Select Add domain.
2. Add the DNS records
ZevInbox now shows the DNS records your domain needs. Add them where your domain's DNS is managed, usually the company you bought the domain from or your hosting provider.
Each record has a copy button for its name and value.
The name is shown the way most DNS panels want it, without your domain on the end.
Records marked Required must be added. Recommended ones improve delivery and are worth adding too.
See The DNS records, one by one for what each one does.
3. Wait for it to verify
You do not need to come back and press anything. ZevInbox checks your records automatically: every minute at first, then every few minutes, then every 30 minutes. The page updates by itself as each record is found.
DNS changes can take from a few minutes to a few hours to show up. To check straight away, select Check now on the domain's page.
When every required record is found, the domain shows Verified and your inboxes can send from it. See Domain statuses for every status.
4. Give an inbox your address
Once the domain is added, connect an address on it to an inbox: open Settings › Inboxes, choose the inbox, and set its address on the Address tab. See Your ZevInbox address.
Was this helpful?
Still stuck?
Email hello@zevinbox.com with what you tried, and the team answers.